
International cryptocurrency exchange losses due to breaches and frauds plummeted 36% to $428 million in 2024 from $670 million. Embezzlement accounted for 7% of overall losses, while hacking contributed 93%.
This poses a serious challenge to novice and prospective digital asset investors. Hardware wallets are climbing up the ladder with the immense security it provides. With a multitude of hardware wallets in the market, a unique dimension is added to upgrade the security of cryptocurrencies.
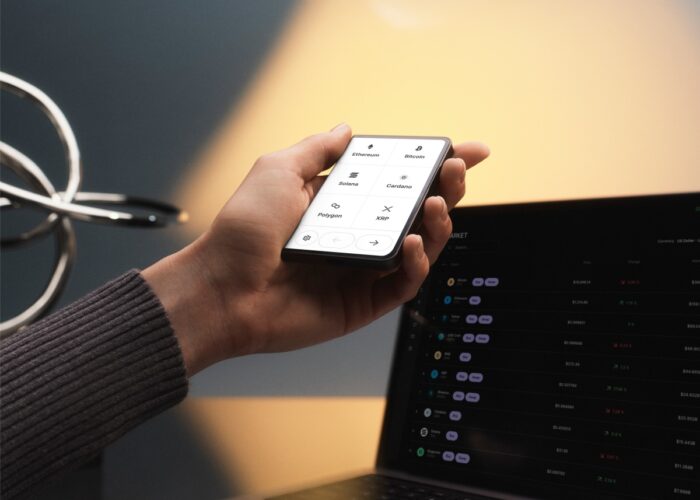
The downside of web-based storage systems, or “hot” storage, is the high degree of susceptibility to hacking and online embezzlement. You are entrusting them with your private keys and keeping them open for digital fraud.
In this article, you will have comprehensive knowledge of how to get started with them and how you can effectively store your cryptocurrencies in cold storage:
What Are Hardware Wallets?
Opting for high security is never an unreasonable expectation, and hardware wallets live on this fact. Hardware wallets provide a new dimension to storing cryptocurrencies like BTC, ETH, and Tether in a physical device, keeping them offline and under physical control.
An interesting fact is that crypto storage systems do not store the crypto itself, regardless of hot or cold storage, but hold on to the private keys directly associated with the coins.
Blockchain is the lifeline of cryptocurrencies, and thus, they are built on a uniquely structured sequence of numbers, letters, and other characters.
Public keys can be compared to bank account numbers that can be shared with the public, while private keys are passphrases that must be kept secured at all times. As such, hardware wallets are to be kept under responsibility for theft, destruction, or loss.
You must always be mindful of your hardware wallets, for they digitally hide and secure private keys. Hardware wallets are best kept in a locker safe with a high-security pin and 24-character passphrase. Do not let anyone get a hint of the PINs and passwords, and always have a backup to regenerate in case of destruction mishaps.
How To Initialize A Bitcoin Hardware Wallet
Firmware Installation
As soon as you get your hands on the hardware wallet, the first step is installing and updating the firmware requirements. Although most devices have software pre-installed, it is always better to be safe than sorry, for there is no way of proving the genuinity of it.
This varies with the type of hardware wallet you have purchased from the manufacturer. For instance, the recently launched Trezor Model T New Generation does not have the software built into the system.
It is always best to check in with the supplier about built-in software and thoroughly verify if it is open or closed-source crypto.
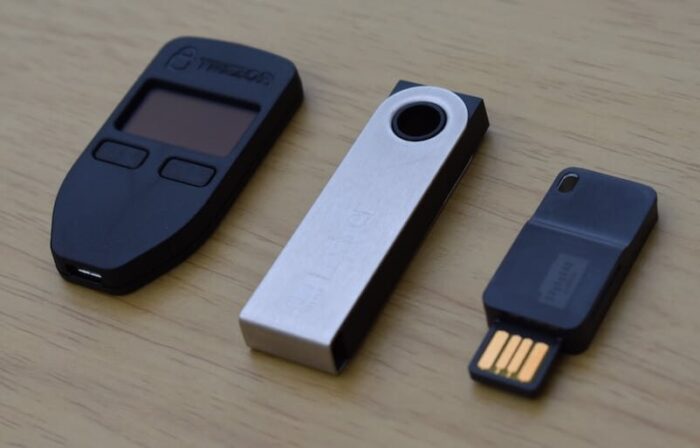
Choosing the right hardware wallet supplier can be a daunting task, especially with a plethora of high-end multi-functional devices out in the market. With several upgraded launches in the Trezor flagship products, knowing the better one between Trezor One Vs. Model T comes with several considerations.
Trezor Model T is the enhanced version of the Model One hardware wallet, with a widened scale of features at your disposal. The former has a support base for a large number of cryptocurrencies and digital assets, touchscreen features, SD card slots, and mobile compatibility.
Adding Seeds, Passphrases, And Pin
As different wallets come with varied controls, it is best to familiarize yourself with the manual and generate your PIN number immediately. This will convert your hardware wallet into a digital safe, and you can establish your passphrase with 12-24 phrases.
You must be careful while carrying out this task, for a slight mistake can bring your financial standing to the streets. Make sure no one is around, and refrain from speaking the words aloud. They are not biometric, so anyone with a passphrase can access your wallet. After this, you will be provided an extended private key to generate your address.
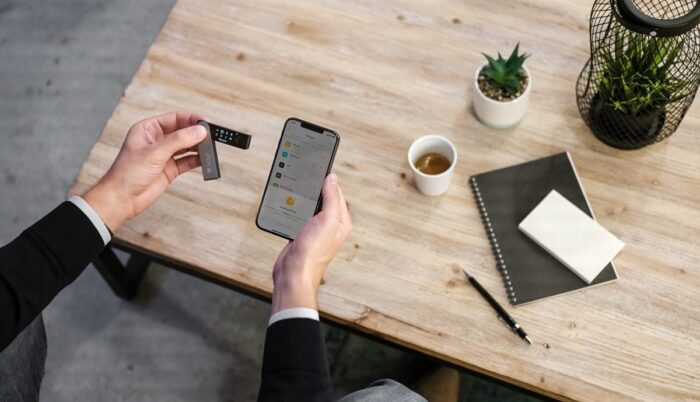
Install Software Watching Wallets
Once you get your hands on this extended private key, you need to download a software wallet that holds this key and the corresponding addresses. If you are starting to feel skeptical about this step, do not worry.
Watching wallets are observer wallets based on seed words with no association with private keywords. They will not be spent but rather observed. These wallets are connected to the blockchain’s public or private nodes and request data about the value.
The manufacturer-provided watching wallets are pretty rudimentary, while third-party open-source wallets help you gain more control over the coins transacted. Always check for malware when installing this software from third-party sources. To download a third-party open-source watching wallet, follow the given steps:
- Step 1: Go to an open-source software download site directly from the manufacturer’s website or a verified source.
- Step 2: Analyze the hash packaging and GPG signatures and verify if they have been tampered with.
- Step 3: Extract the extended public key and install it in your watching wallet. This step varies with different hardware wallets, so always check with your supplier.
Store Cryptocurrency In Cold Storage
Now that the setup has been finalized, it is time to store your cryptocurrency in cold storage. You can do so with the steps given below:
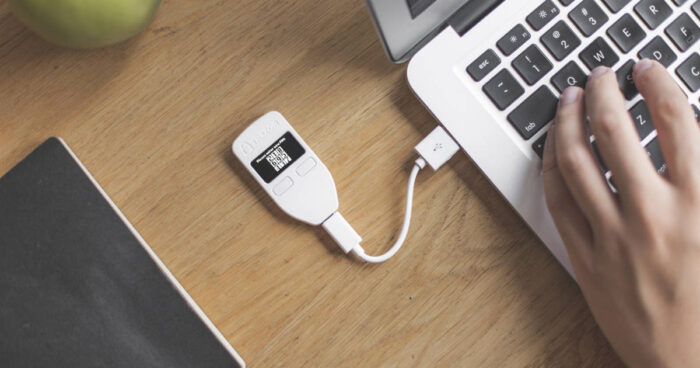
- Step 1: Connect the hardware wallet to your trading desktop
- Step 2: Initiate the watching wallet software provided by your manufacturer or from a third-party open-source website.
- Step 3: You will be provided with a passphrase or seed code to be kept securely. Since each type of crypto requires a designated wallet, you will need to make a new wallet for every crypto you own.
- Step 4: Set up the PIN as mentioned previously. After the PIN has been set up, you can store crypto in the hardware wallet. You will have an option called “receive,” where you will be served with your wallet address upon clicking.
- Step 5: To finalize the transfer, log in to the exchange and transfer the digitized assets to the wallet address provided.
Make A Test Transaction
Factory reset your device and follow the steps given below:
- Step 1: All your transactions will be accessed from the software-watching wallet that you have created previously with no private keys. The first step is to create a transaction in the software with the sending and receiving address, a test amount of $100, and no signature.
- Step 2: The software wallet connects to the hardware wallet via a USB connection (or SD card if you are using the Trezor series) without a signature. If you are testing the transaction process, you can create a second wallet and use that address as the receiving address.
- Step 3: Since the hardware wallet consists of private keys, it can add the signature to the transaction and authenticate it. It then communicates back to the software wallet with a signed transaction.
- Step 4: The watching wallet connected to the blockchain node will display the signed transaction, which will be shared in the node network. It sits in a node queue.
- Step 5: The miner is provided with the transaction details and connects it with the current block for confirmation
- Step 6: The confirmations increased in about 10-15 minutes and were finalized on the blockchain.
Conclusion
Congratulations! You have set up your bitcoin hardware and watching wallet and made your first transaction. Ensure all the steps are isolated because losing private keys is the highway to stolen crypto.
Make sure to consider the security aspects and whether the storage is open or closed source. Supported currencies, user-accessibility, and integration aspects must be considered before purchasing.


